Run a PELDOR/DEER Experiment
If you followed the instructions of the previous sections you have all parameters to run a PELDOR/DEER experiment. In this section we show how to setup a PELDOR/DEER experiment. Note, that some parameters such as shots, trace, scans … are set to default values. We recommend to start with these parameters and adjust them later if needed.
First, we need to move the magnetic field to the observe field position:
- Open the window to control the field. From the
DDI menuselectSet Field form, FLD. - Enter the field value for the observe field (here 1.2218 T) and click the
Set Fieldbutton. - Wait for the field to settle.
In the next step we can setup the PELDOR/DEER experiment:
- Start by loading the experiment. From the
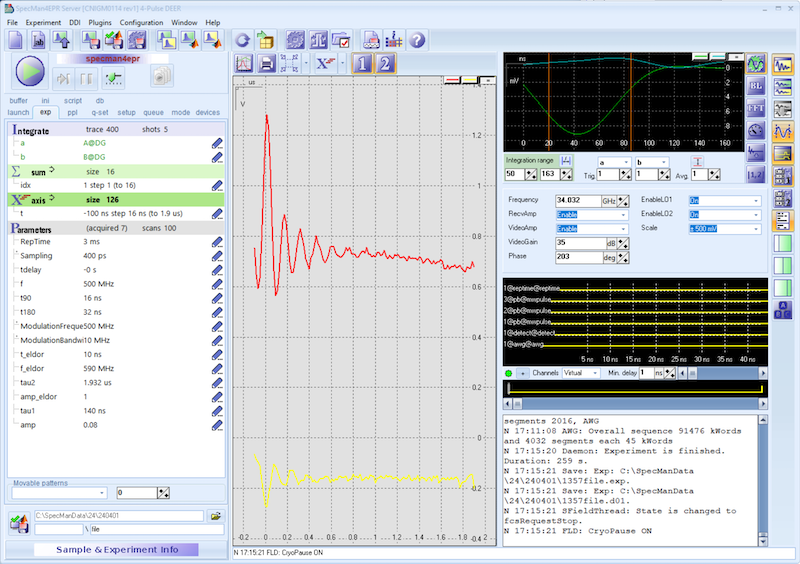
Filemenu, selectNew Experiment. Scroll to the4-Pulse DEERexperiment and click on it to load the experiment. - Enter the experimental parameters corresponding to the values determined in the previous section:
- Set the pulse length for the observe pulses (t90, t180), the 16 and 32 ns, respectively.
- Set the amplitude for the observe pulses (amp) to 0.08. This value was determined in the Optimizing Pulse Parameters section.
- Set the value for the maximum dipolar evolution time (tau2) to a value of 1.932 µs.
- Set the length of the pump pulse (t_eldor) to 10 ns. This value was determined in the Run a B1 Nutation Experiment section.
- Set the amplitude of the pump pulse (amp_eldor) to a value of 1 (maximum power).
- Set the frequency of the pump pulse (f_ELDOR) to a value of 590 MHz. The detection is at 500 MHz. Therefore, the overall offset of the pump pulse, with respect to the observe pulse is 90 MHz.
- Set the parameter t, the position of the pump pulse to “-100 ns step 16 ns” and the size to 126. Here you should pay attention to the value in the bracket. SpecMan4EPR calculates this value and it should be lower than the value for tau2, the maximum dipolar evolution time.
- Enter the number of scans that you would like to run.
- Hit the run button to start the experiment.
When you hit the run button, SpecMan4EPR first calculates the entire pulse sequence, including the phase cycle (SpecMan4EPR will step through all variables and you can see this for the different axis). The full pulse sequence is then uploaded to the AWG and the experiment is started. Once a scan is finished and the data is transferred to SpecMan4EPR.
Once the experiment is finished, SpecMan4EPR will automatically save the results. If you want to stop the experiment during the acquisition, you have two choices:
- Hit the
Runbutton. This will immediately stop the experiment. In this case the data is not saved automatically. - Hit the
Finishbutton. SpecMan4EPR will finish the current scan before stopping the experiment. The experimental data will be saved.
Setup Overnight experiment
If long signal averaging is required to obtain a sufficient signal to noise ratio, we recommend running the experiment in a queue.
- In the experiment panel, select the
queuetab (see figure below) top open the queue window.
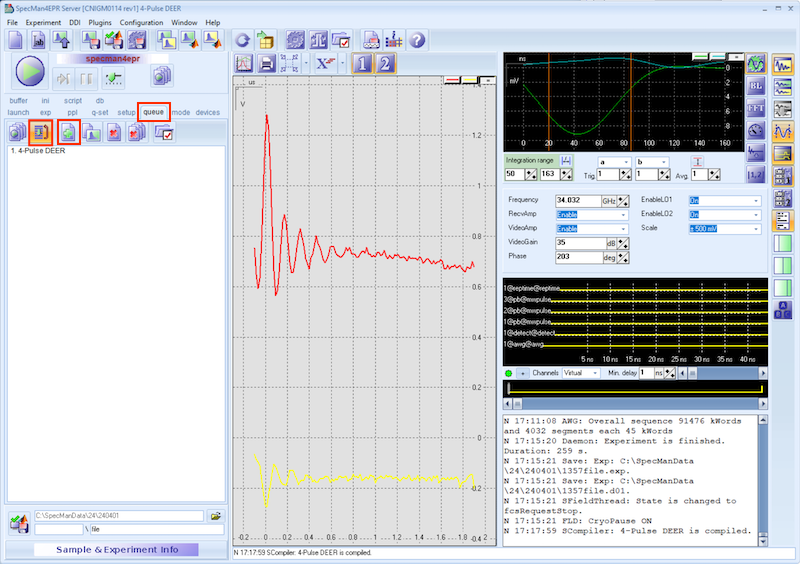
- Click
+ button(with the green + sign) to add an experiment to queue. This will queue an experiment using the parameters that are currently set in the parameter section. - Click the
loop button. By selecting this option, SpecMan4EPR will perform the experiments in the queue (here only ne experiment is added to the queue) and then start over again once all experiments in the queue are finished. The experiment is saved once it finishes. - To start the queue, press the
queuebutton.