Inserting a Sample and Adjust the Resonator Coupling
How to insert the sample into the spectrometer
The following section provides a step-by-step procedure how to insert the sample into the EPR probe and adjust the iris coupling of the resonator.
To confirm that the sample is inserted into the microwave resonator correctly, we will observe the microwave tune dip of the resonator.
Inserting the Sample
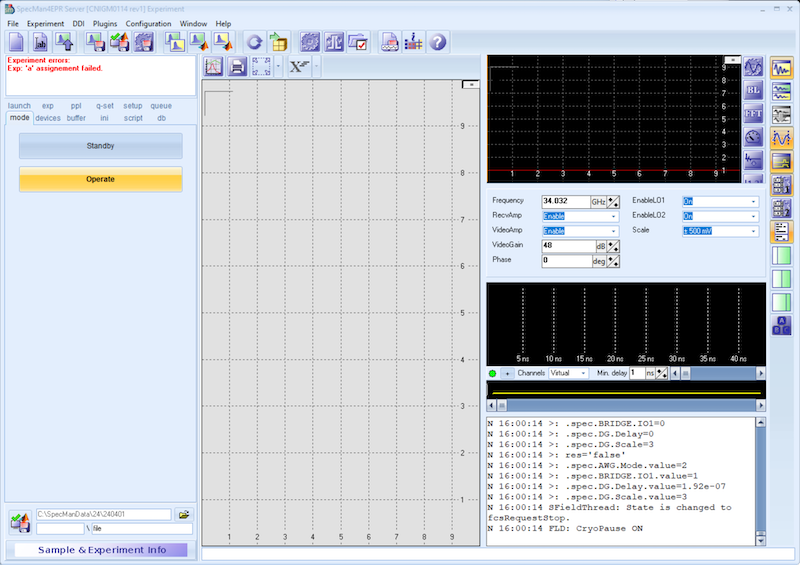
Make sure SpecMan4EPR is running.
To insert the sample follow these steps:
- Switch the spectrometer into operate mode
- From the Experiment Panel select the
modetab - Click the Operate button. This will enable all synthesizers
- From the Experiment Panel select the
- Open the resonator tune window (
RESONATOR plugin) from the plugins window - Start the tune sweep by clicking the
runbutton (green arrow on bottom left)
- Make sure the resonator is critically coupled. For this, the resonator iris is completely inserted into the resonator. This corresponds to a micrometer reading of 0 mm.
To insert the sample:
- Make sure the helium gas pressure inside the cryostat is slightly above atmospheric pressure (> 0.1 bar). Note, the pressure gauge shows a value of 0 bar, when the pressure inside the cryostat is close to atmospheric pressure.
- Once the pressure in the cryostat is slightly above atmospheric pressure, it is safe to remove the bling plug. For this loosen the nut and pull out the plug. You will feel a stream of cold helium gas exciting the cryostat. This will prevent air and moisture entering the sample space.
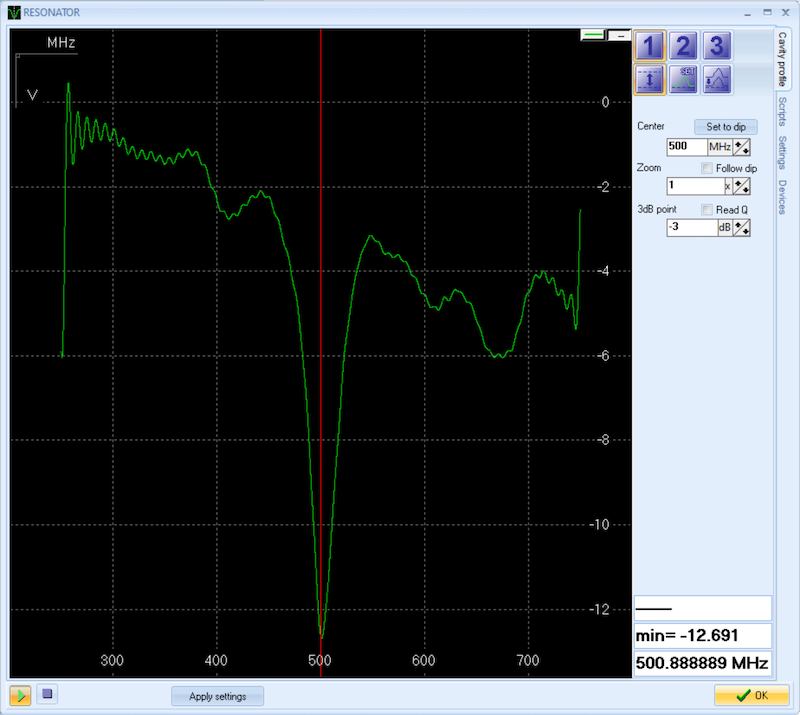
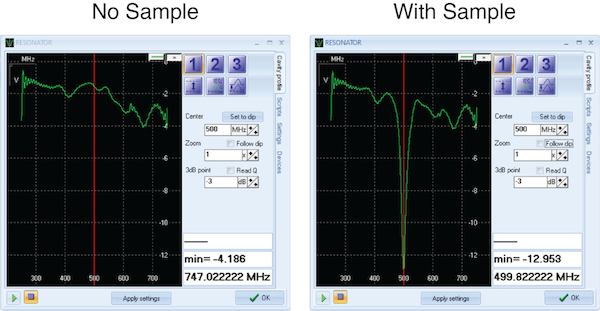
- Slowly insert the the sample stick and lower it into the resonator. The sample stick has holes at the top and the bottom to release the helium gas coming from the probe. While lowering the sample stick, observe the tuning picture of the resonator. Once the sample enters the resonator, the tuning dip of the resonator will be visible (see figure below).
- Once the sample is fully inserted into the resonator, tighten the nut at the top of the probe that holds the sample stick. This nut should just be hand-tight. Do not use any tools (e.g. pliers) to close the nut.
- Close the valve to the helium gas supply.
- Start the pump and open the valve to the pump to lower the pressure inside the cryostat to about -0.5 bar. The exact pressure is not important.
- Close the valve to the pump and wait for a couple minutes until the temperature inside the cryostat stabilizes.
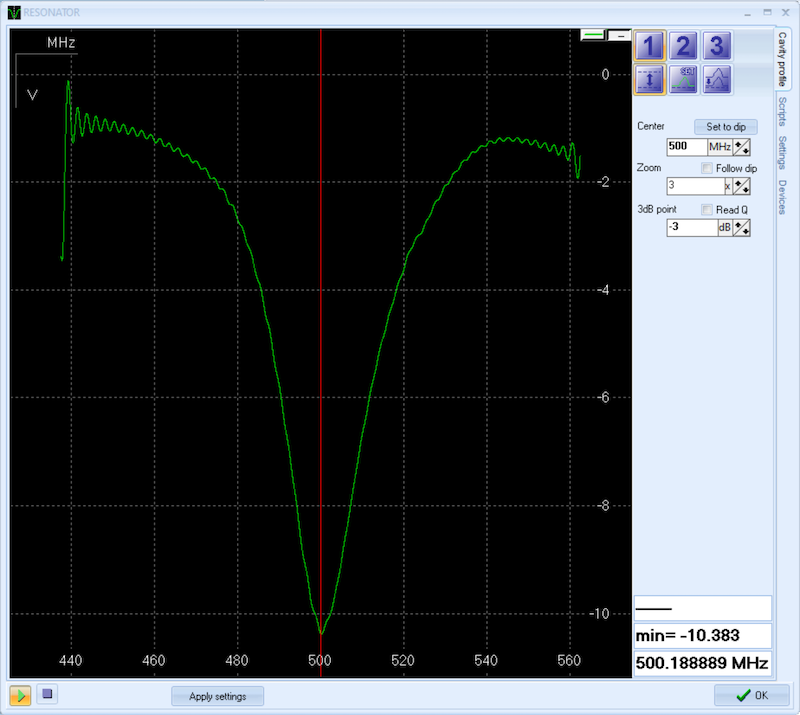
In side the tune window you can zoom into the tune picture by clicking the up and down buttons.
Overcoupling the Resonator
For pulsed EPR experiments the resonator must be overcoupled to reach the maximum resonator bandwidth.
- Before you adjust the resonator iris to overcouple the resonator, make sure the microwave frequency (red vertical line) is set to the tuning dip. The microwave frequency is adjusted in the Control Panel (see figure above).
- Slowly turn the micrometer screw to overcouple the resonator. This will raise the iris and the tuning dip will get broader. The tune dip will also shift ub by about 90 MHz. For maximum overcoupling set the height of the iris to 7 mm.
- For DEER experiments on nitroxide-based spin labels you don’t have to adjust the microwave frequency. The shift of the dip is about 90 MHz, which corresponds to the frequency separation of the pump and observe pulse. When using different paramagnetic species the frequency may have to be adjusted. However, keep in mind, the resonator bandwidth is > 400 MHz for the Bridge12 QLP probe.
- To exit the tune mode, click the
stopbutton (click the square icon, bottom left) and click theOKbutton to close the window.
The spectrometer is ready for the first experiment.
What’s next?
Last modified July 29, 2024: Fox broken links (8509d38)