Sample Capillaries
The BRidge12 XLP probe can except samples up to a maximum OD of 3.0 mm. Vendor links to sample tubes and capillaries can be found on the Cosumables Page.
Mounting the Sample
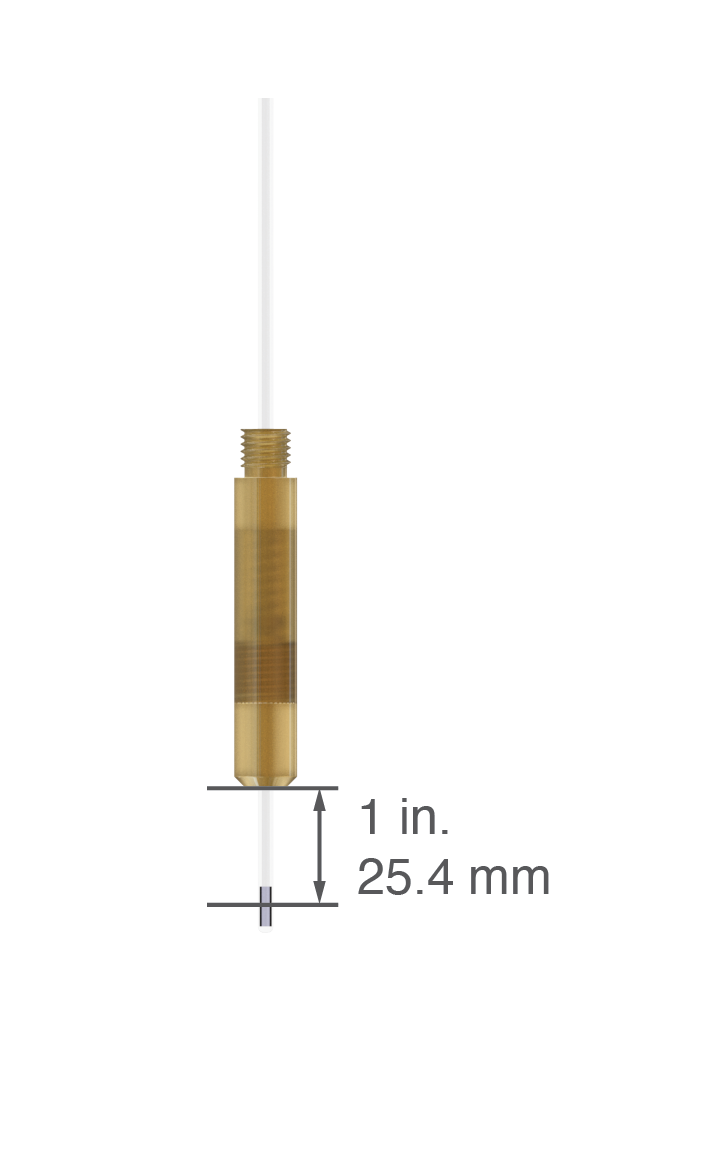
Please follow the instructions for using the sample stick to mount the EPR sample to the Sample Stick. In general, the distance between the center of the sample and the bottom of the sample holder should be about 1 inch (25.4 mm) (see figure below).

Recommended distance between the center of the sample and the bottom of the sample holder
Inserting the Sample Stick
To insert the sample stick into the probe follow these instructions:
Note
Please keep in mind that these instructions can differ, depending on the type and make of the low-temperature cryostat.
- If the cryostat is cooled down, stop the cooling. Wait for the pressure inside the cryostat to reach atmospheric pressure.
- If using a purge gas, switch on a slow stream of purge gas.

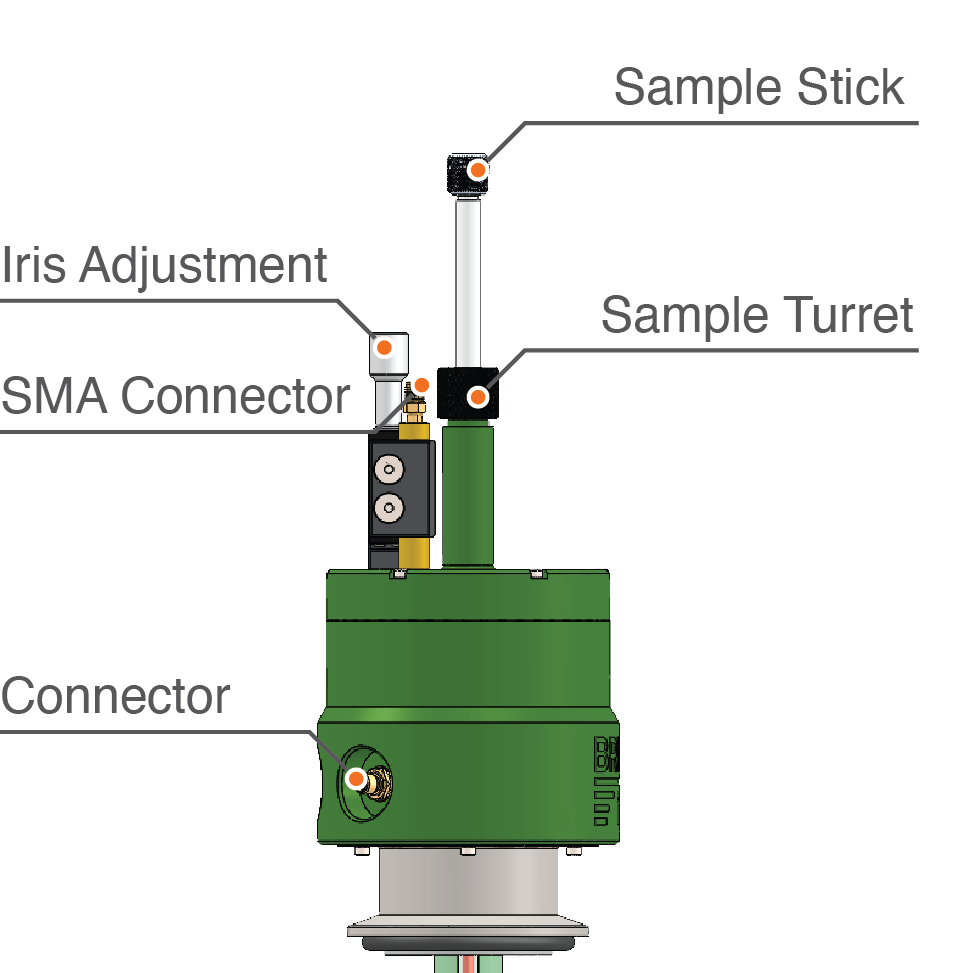
- Loosen the nut at the top of the sample turret (see figure above). Depending on the probe the nut may be made from brass, stainless steel, or anodized aluminum. Typically, just loosen the nut should be sufficient, it is not necessary to completely remove the nut.
- Pull out previous sample stick or blind plug. If the purge gas is running, there should be no ambient air entering the cold space of the cryostat.
- Insert the new sample stick (or blind plug).
- Push sample stick all the way to the bottom. If the distance between the center of the sample and the bottom of the sample holder is 1 inch, the bottom of the sample holder will rest on top of the resonator.
- Tighten the nut at the top of the sample turret. Please don’t use any tools to tighten the nut.
- Start the cooling and wait for the temperature to settle before attempting to tune the resonator.
What’s next?
- Learn about Tuning the Resonator.