Note
Open VnmrJ is automatically installed when installing OVJ-B12, the Bridge12 version of OVJ. OVJ does not have to be installed separately.
Bridge12 does not offer a pre-compiled version of OVJ-B12. Instead, the package has to be build on the computer that is used to operate the spectrometer. However, the installation process is streamlined and does not require any specific programming skills besides navigating through some terminal windows.
Preparing the System
-
Start by opening a terminal window and update all installed packages to the latest version:
1
2
sudo apt-get update sudo apt upgradeThe best way to install OVJ-B12 is by using the GitHub repository. Updates are pushed to the GitHub repository and can be installed by the user from there.
-
Install git and python3-pip
1
2
sudo apt install python3-pip sudo apt install gitTo communicate with the NMR spectrometer and the Bridge12 MPS a serial connection to the periphery is required. OVJ-B12 uses Python and the pyserial Python package for this purpose, which can be installed through pip.
1sudo pip3 install pyserial==3.5
Cloning the Repository
-
To clone the GitHub repository, open a terminal window
1git clone git@github.com:Bridge12Technologies/OpenVnmrJ_B12TOnce the repository is downloaded change into the directory …..
Building the OVJ-B12 Package
-
Build the package. As a first step in the installation, the OpenVnmrJ and ovjTools repositories will be automatically downloaded. The complete build processes takes about 10 minutes.
1sudo ./buildb12We recommend opening a new console tab in the terminal window to monitor the build process. To do this copy and paste the command (tail -f) with the corresponding file shown in the console after starting the build process into the new console tab of the terminal window.

-
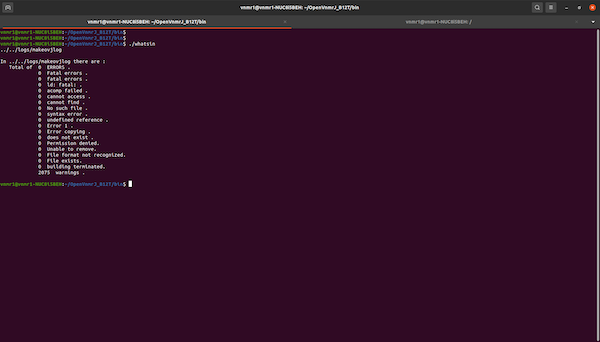
Once the build is finished check the build process with
1./whatsinThe output should report 0 Errors and 0 Build Terminations for a successful build.

If the build succeeded the folder ~/ovjbuild/dvdimageB12 is created.
Install OVJ-B12
-
To install OVJ-B12 change to the dvdimageB12 directory and execute ./load.nmr
1
2
cd ~/ovjbuild/dvdimageB12 ./load.nmrA popup window will appear, press install to continue with the installation.

-
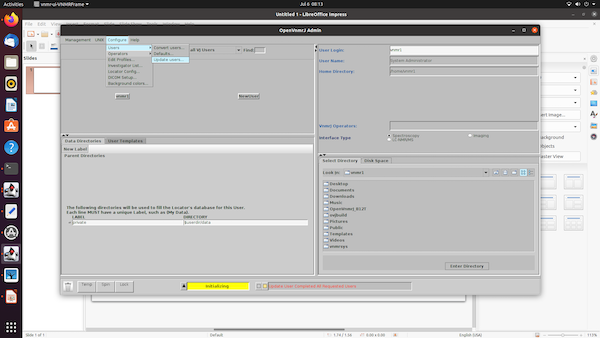
When asked to update users start the vnmrjAdmin program located on the Desktop. The program should start automatically. In vnmrjAdmin go to Configure -> Users -> Update users …

and add all users (vnmr1, service and walkup if they were created) to the right side. Then press “update users”

Once all users are updated, the bottom status line in OpenVnmrJAdmin will show “Update User Completed All Requested Users”. Once you see this message, close OpenVnmrJAdmin.
-
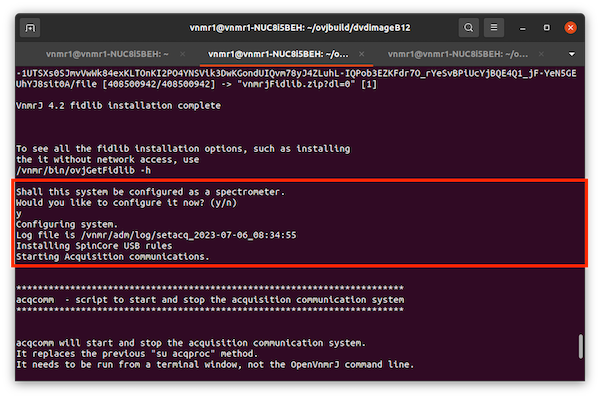
After this, the system will open a new terminal window and the user has to answer a few questions. Please answer both questions with y(yes).
1
2
Standard configurations include the walkup and service accounts. Would you like to make them now? (y/n)1 2Shall this system be configured as a spectrometer (see image below). Would you like to configure it now? (y/n)
-
Installing NMRPipe is optional and can be answered with n(no).
-
We recommend to install the OVJ manuals. When asked to install the manuals please answer the question with y(yes).

Finish Installation
-
Once the load.nmr script has finished the upgrade.nmr script should be executed
1./upgrade.nmr -
The installation scripts places two icons to the Desktop: vnmrj and vnmrjAdmin. vnmrj can either be launched by double-clicking on the desktop icon or from the command line:
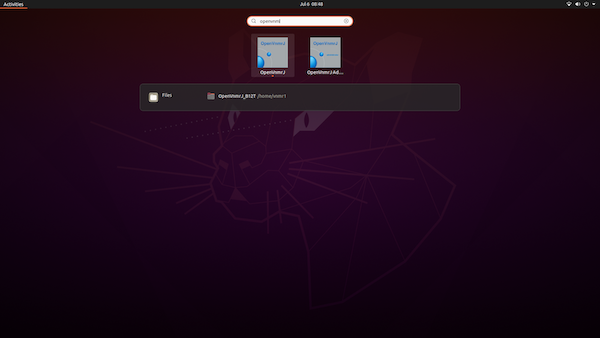
1vnmrjIt is convenient to add Open VnmrJ to the quicklaunch menu. This can be done by by searching for “openvnmr” and then dragging the program icon to the quicklaunch bar.

OVJ-B12 is now installed and ready for its first experiment.